How Printora Works: Step by Step
From downloading the Windows print host to printing your first document from your phone in under two minutes.
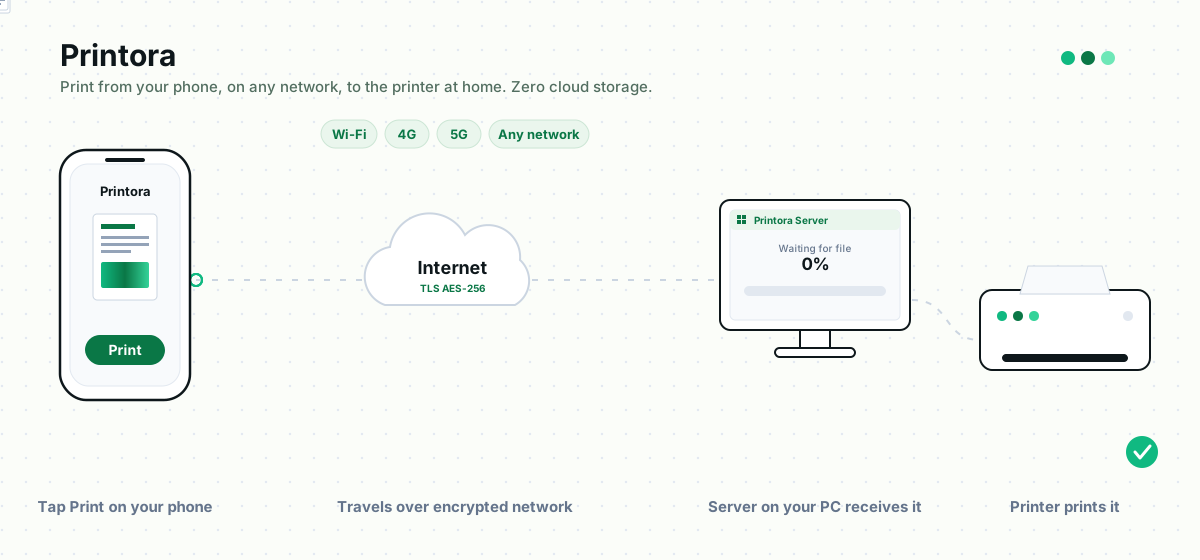
Install Printora Server on Windows
Download the Printora Server installer or standalone portable package on your Windows 10 or 11 computer (.NET 8). Launch the application. Printora will automatically enumerate all installed USB, Wi-Fi, and network printers registered in Windows.
Connect Your Phone (Android or iPhone)
Choose your preferred path based on your device:
Open the app. It automatically detects the Windows server via mDNS and UDP beacon broadcast. Tap Connect or scan the pairing QR code.
Point the camera at the Web Print QR code on the Windows screen. Safari immediately opens the Web Print Studio. Zero app installation.
Select or Scan a Document
Pick existing PDFs, pictures, or notes from your phone, or open the built-in mobile scanner:
- Document Mode: Multi-page scanning (up to 20 pages) with auto quad edge boundary detection and straightening.
- ID Card Mode: Scan front and back sides; Printora combines both faces onto a single clean A4 sheet.
- OCR & Filters: Enhance text with B&W or Auto-contrast, extract text, and preview before spooling.
Print & Track Spooler Status
Configure copies, color, duplex, paper size, and quality mode. Tap Print. The job is spooled directly to the Windows printer. Both the mobile device and desktop show live progress percentage. Once completed, temporary upload files are cleaned up automatically.